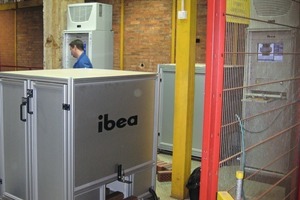
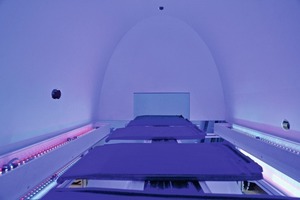
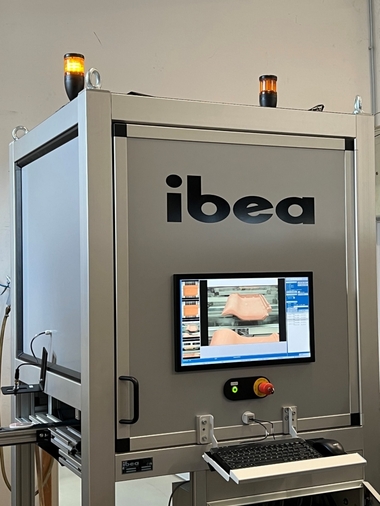
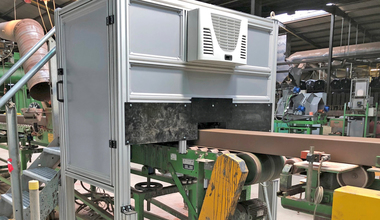
ibea is offering a new version of their practice-proven inspection system for the brick and tile Industry. “Brick Inspector II” can be used for complete inline inspection of diverse ceramic products.
It has a number of special features, such as randomly combinable modules. With them, producers can pick and choose a combination that best fits their own production situation while converting to fully automated, 100% inline inspection, all for an optimized initial expenditure.
Surface examination mode
“Module I” consists of one to four 2D colour cameras for surface examination. The cameras pick up all visible surfaces and compare them with appropriate “taught-in” reference patterns to detect texture defects, flaking, cracking, spalling and colour problems. The system can also be used to check for the presence of certain characteristics such as retaining beaks. The defects are detected by differential methods, i.e., changes in texture and varying brightness can be precluded. Additive measurement of brightnesses and colours enables control of those parameters, too. Evaluation is effected by the “best good” method in comparison with a postulated ideal product. The reference levels are then “taught in” to serve as target quantities. The various quantities and contrasts are definable.
Examination of dimensional accuracy and angularity
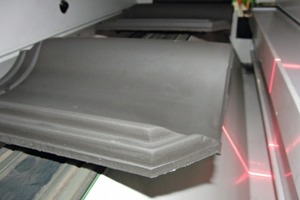
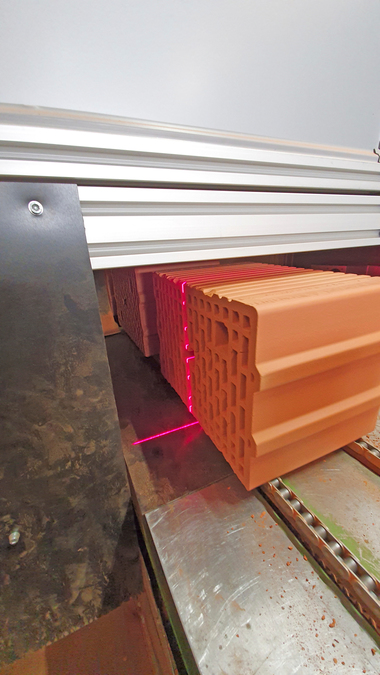
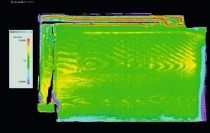
“Module II” is the optimized 3D measuring module for checking dimensional accuracy and angularity. Here, the surface of the product is scanned and evaluated according to the reliable laser-triangulation method. Length, width, height and solid angle are measured, hence enabling detection of unevenness or distortion. Even the surface texture of embossed products can be measured. Lengths, widths and angles of intersection are determined to within an enhanced accuracy of 0.1 mm (depending on the size of the product). At maximum resolution, the system can inspect roughly 150 products a minute. In combination with “Module I” cameras, three-dimensional views can be generated to pinpoint not only the type of defect, but also its locational distribution. This feature supplements the tried and proven ibea statistics by accentuating recurrent defects, hence simultaneously providing insight into and improvement of the production process.
Sound test
“Module III” incorporates sound testing according to the resonance method, in which each individual item is reproducibly stimulated and the results recorded. The system comprises a stimulator and an evaluator. By means of a proprietary mechanical striker, the stimulator generates acoustic resonance, which the evaluator intercepts with its directional microphone and immediately analyses. This reveals all kinds of cracks, especially cooling cracks and internal cracks. This acoustic inspection detects cavities and other material defects that could weaken the product‘s microstructure. In preparation for sound testing, “good” patterns are read in during the production process. It is of decisive importance, that the clay‘s normal scatter due to material effects and temperature variation within the kiln also can be registered to prevent them from causing higher reject rates further down the line. Moreover, spectral analysis is conducted in special higher-frequency ranges, with as many as three different bands of significance for the product‘s “acoustic fingerprint” being determined. Within those bands, a sound-power profile is defined, within which the enveloping power density of the emitted sound is measured. Since the system contains a number of different profiles, the computer forms a so-called ensemble of all recorded products. It takes only a single parameter (percentage) to ensure good test accuracy. Audible defects are reliably detectable, so production-dependent fluctuations leading to higher reject rates need not be feared.
Weight determination
Finally, the products can be weighed with the aid of “Module IV” as they pass through the inspection booth on a sensor-borne conveyor. For the purposes of holistic quality testing, even the density of the material can be determined on the basis of the geometric/weight-specific data generated in the course of the overall process. This enables early detection of fluctuations in raw material.
A number of ibea‘s customary convenience functions round out the system – for example:
› �easy switchover to different products
› �filing of all product-specific settings in so-called “jobs”
› �user-account control for limiting access to the test parameters to certain user groups and statistical functions

